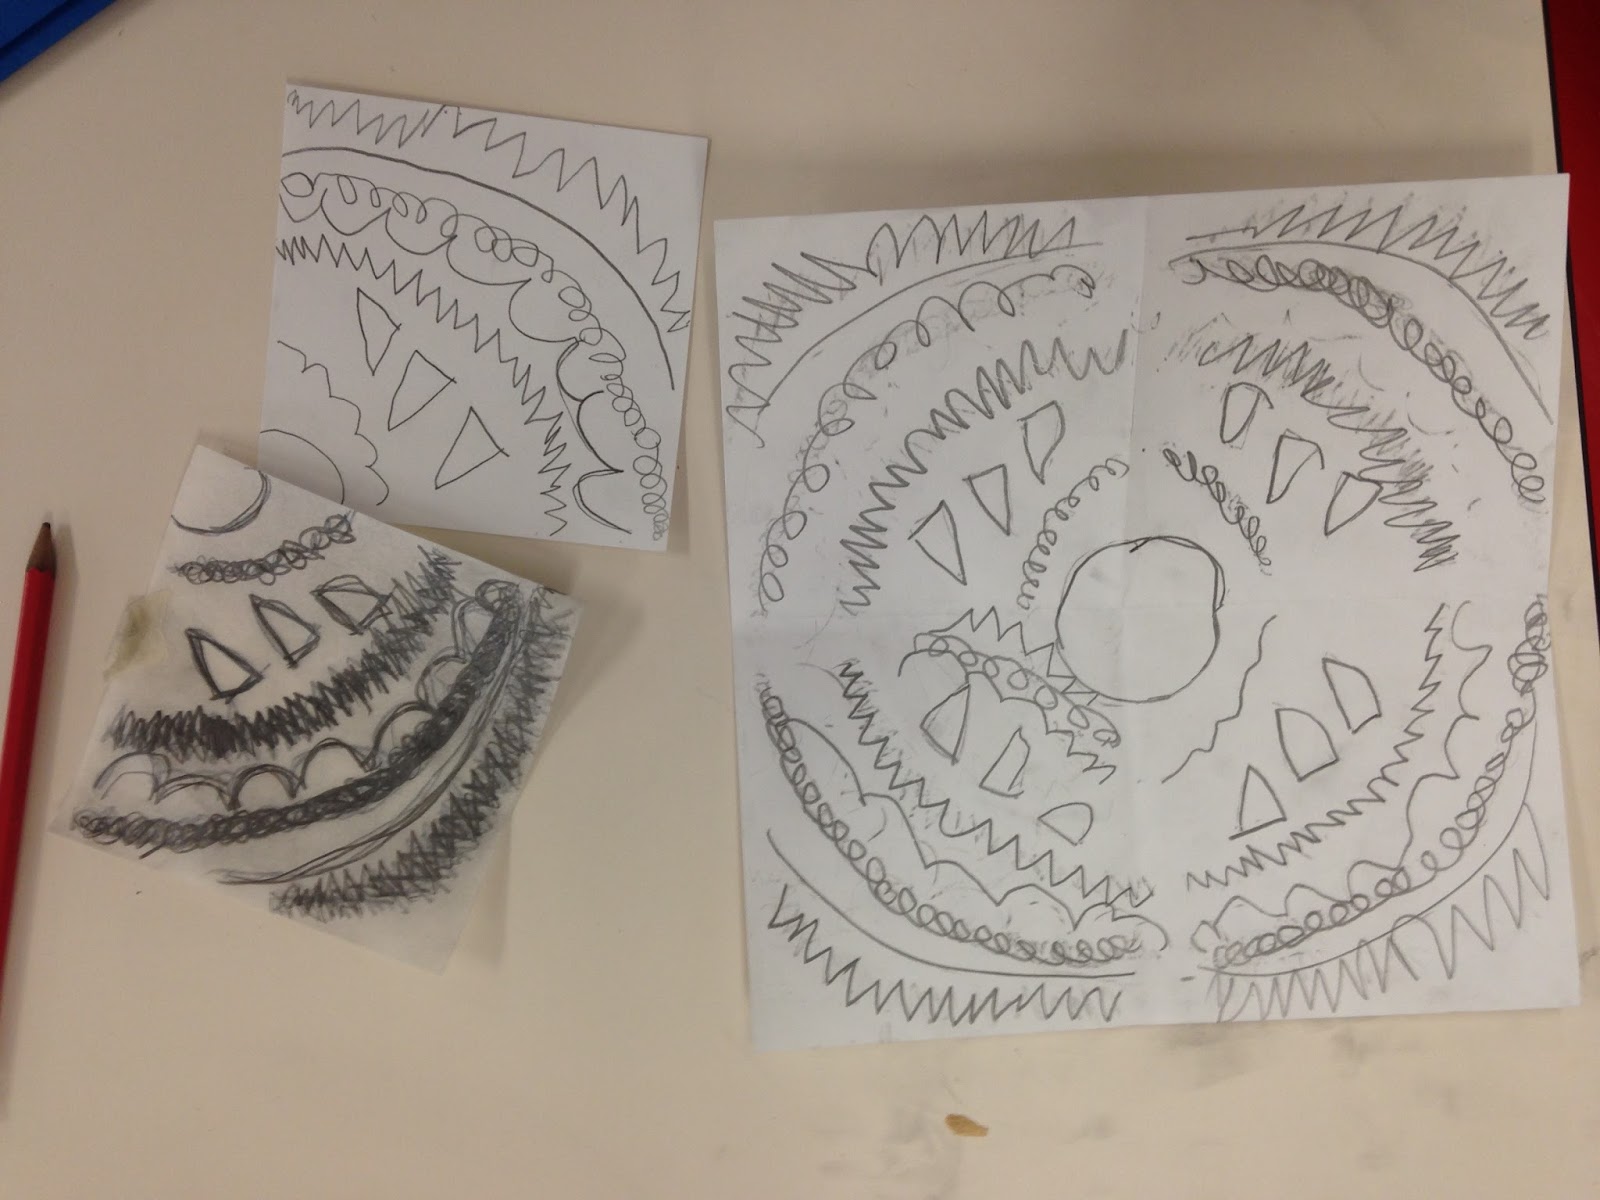
According to the curriculum guide I am attempting to follow, 2nd and 4th graders are required to learn symmetry. What
really excited me with this lesson was I got to incorporate the iPads I received from a
grant that I wrote. Click
here for details.
I started the lesson with my students on the carpet and introduced the app
Kaleido Free. There are different options for making art with
lines of symmetry, from one line to 4 lines. My plan was to do kaleidoscope art with 2 lines of symmetry for 2nd grade and 4 lines with 4th grade.
I also let them look through actual kaleidoscopes that I bought years ago at
Oriental Trading.
Before we started our project I wanted students to understand the basics of tracing and transferring their designs so I used these coloring sheets from
Art for Kids to scaffold.
They taped tracing paper (which they were very excited to be able to see through) over the insect, traced it and then flipped over the tracing paper and transferred the lines to the other half of the paper.
For 2nd grade each student received the following: a 4 1/2" square piece of tracing paper a 4 1/2" square and a 9" square of white drawing paper.
They made their design on the 4 1/2" square paper, traced over the design with the tracing paper and then transferred it to the 9" square 4 times. Basically- draw design, trace design, flip over design (so that the pencil marks made are facing down on the paper) and retrace. Continue to flip and trace around the paper. Students painted to complete their kaleidoscopes.
As I did this project with students a few things occurred to me. Some of them were having trouble understanding the concept, some did
very complicated designs which were taking a long time
AND suddenly I didn't want all the art from
all the groups to be the same. So I changed out the lesson for a few classes. I even managed to eliminate a step. Students folded their paper in half, did the design on one side. Then they traced it, flipped it and transferred it to the other side.
My 2nd graders did suns inspired by
this book by Denise Logan.
And my 4th graders did African masks from
this book, also by Denise Logan.
I have done many of the lessons from both books, they are well worth the money.
My 4th graders still need to finish because I
just had to throw in a fun Christmas activity. I will share that in another post!
That's all for now, thanks for reading!!