Pages

Sunday, February 22, 2015

Art Room Signage

There are signs all over my art room. Many are the usual ones that you would expect to see.
(Got some free at conferences!)


However, there's a whole bunch of signs that I have made as reminders or disclaimers for my students.   They are either on the front board or posted above or below the board. 

"Let's spread our fingers out like the example on the board."

"Draw lightly so that you may erase mistakes. "                 " Use black last, to outline."

"Oh my, please be considerate of the supplies in the art room."
Yes, those are bite marks on the crayons............

Believe it or not, these signs are actually working! I haven't found a broken pencil point in the top of a glue bottle in a while! Also, haven't found any scissors in the garbage.

These signs are posted by my centers. I believe the photographs are important to help with clean up.


This sign is on the wall under my white board. I have often thought this would make a really good picture book to read to students at the beginning of the school year.

This is a new sign I made this year. I was inspired by a sign I saw on the website of Firehouse Publications check it out! It is on the bulletin board next to the white board.

And in response to: "Should I put my name on my paper?"
The answer: "Only if you want it back."

The signage does help as a reference for things that I have taught my students. And by having it up front, hopefully they are reading the signs over and over again when they zone out on me.

What signs do you have up in your art room?

Thanks for reading!!


Monday, February 16, 2015

Turning Bottles Into Bobbleheads

This is probably one of my students' favorite projects! Because everyone loves bobbleheads! I have done this with my 3rd graders when I have enough donated bottles. And since that didn't happen last year I will be doing it with 3rd and 4th grade this year. And I decide to introduce it with a power point this year. Why? Because they will see photos of previously made bobbleheads to be inspired and they will see the process for attaching the top to the bottom. I need to learn to prep less, because in the past, I attached them for my students and that is just too time consuming.

Students that are finished with projects can prepare bottles by removing the labels.

I will use a utility knife  to cut off the bottom of the bottle which will become the head.

At this point the bottles are ready for students to paint. They may paint the inside or outside of the bottle with acrylic paint. They need to put their name on the inside of both pieces.  We let them dry and continue them when they return the following week.

The next step is to wrap a pipe cleaner  around your finger and use a hot glue gun to glue to one end to the mouth of the bottle. (You can use a stick to push down on the pipe cleaner.) The other end needs to be curled up tight and glued to inside of what used to be the bottom of the bottle, but is now the head. You may need to manipulate the pipe cleaner to get it to balance.
 
  
This is a great project in which to introduce "how to use" a hot glue gun. And what an adventure that is! I explain and name all the parts of the glue gun. Caution: the tip gets very hot. Once a glue stick goes in, it does NOT come out! It is a continuous feed. When you glue two pieces together, make sure the surface of each piece will connect. Don't put glue where it can't reach what you are attaching to it. It's so interesting to make rules based on what has gone on previously.

Students can detail out their bobbleheads with whatever you have available!


Just looking at the bobbleheads that were made a few years ago has me all excited to start them this week! Now, I need to put together that power point.........

Thanks for reading!


Sunday, February 8, 2015

Using Model Magic

Ever find yourself in a situation where your class will be coming to art soon and you have no clue what you're doing? That was last Friday with my second graders. I knew I wanted to do Model Magic with them, but, I knew I didn't have enough bottles left for the project I had in mind.

Lucky for me, a while back I made a list of suggestions of what to make with Model Magic and on that list was puppets. That would be cute! As I started to demonstrate building the 
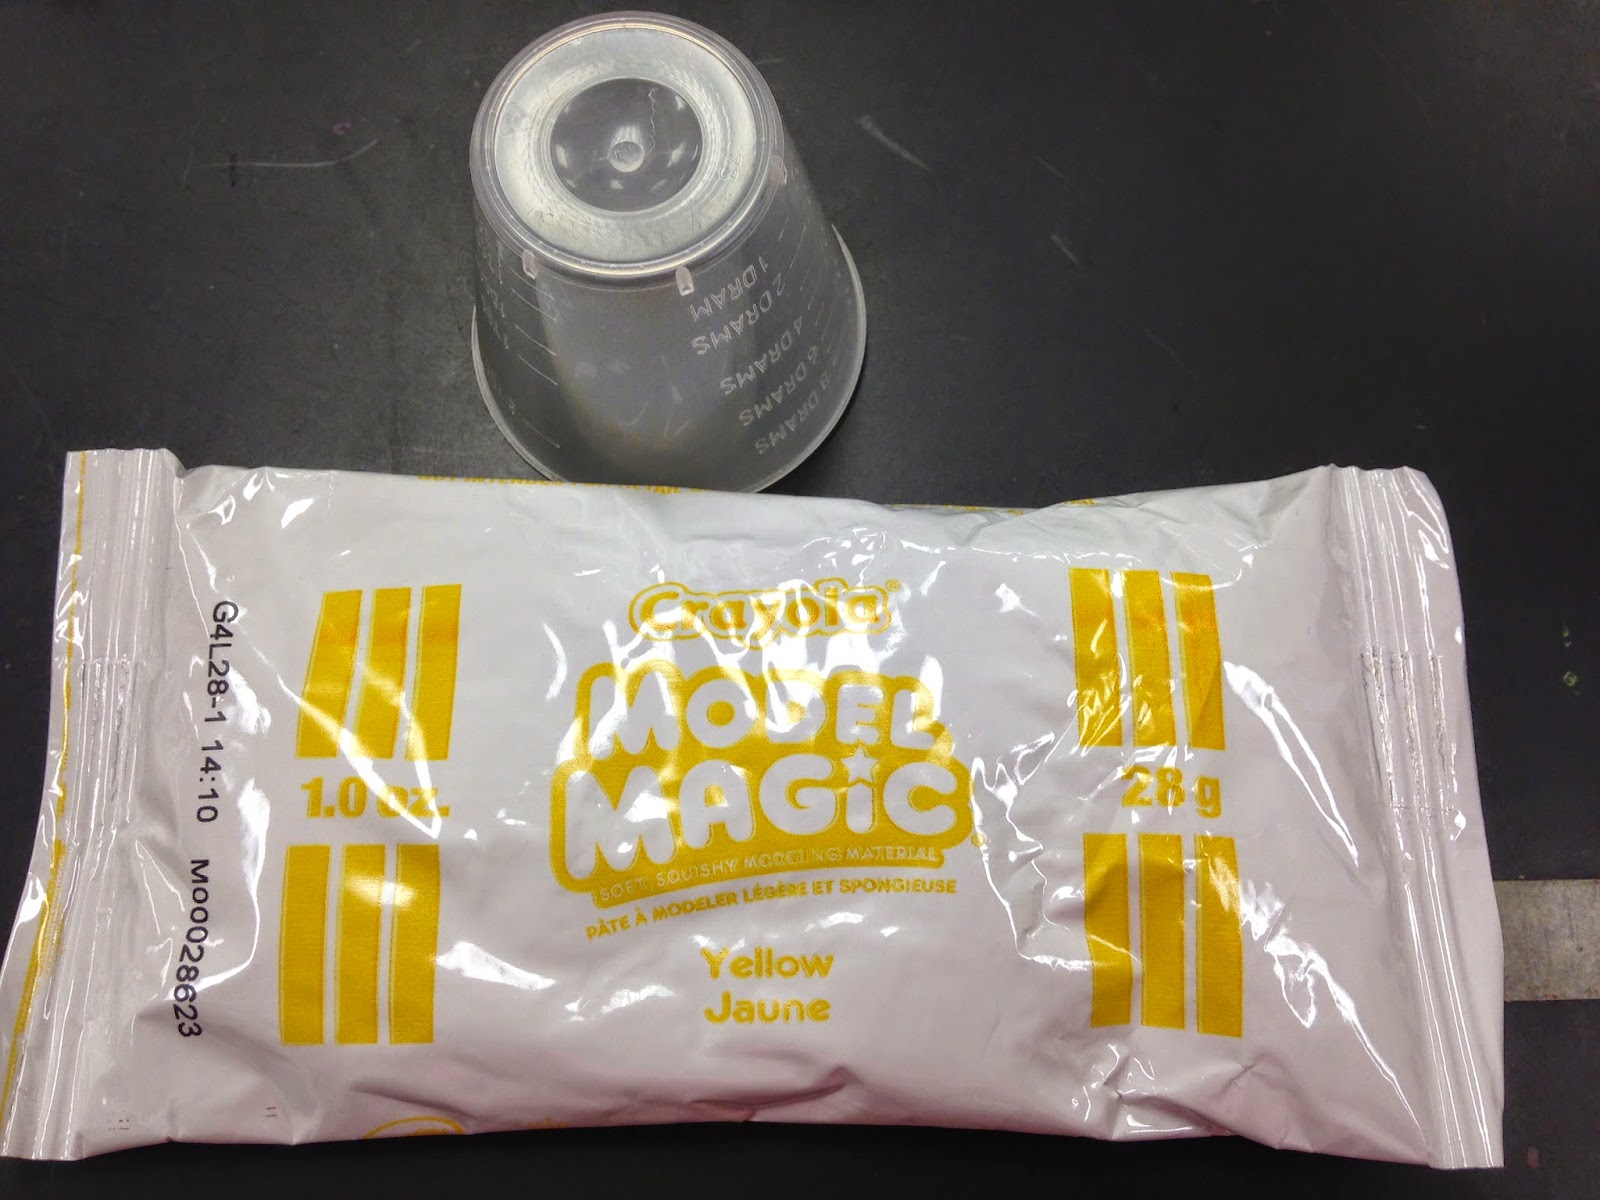
Model Magic around my finger, I began to realize that when I took it off my finger, it would collapse. Not good..... Then I remembered that I had those little medicine cups that someone donated! Oh YEAH!

I chose to have the students work with Model Magic instead of clay this year, because the kiln is in the middle school art room on the other side of the building. It was just crazy last year to go back and forth to load and unload. Next year when we are back in our own building, with my NEW kiln, it will be easier.
I purchased class boxes that included the following colors: red, yellow, blue and white. For some reason I always have lots of yellow left over-so that's what we used.

                              cat                                                caterpillar
                               elephant                                       bird
                                                        high 5
I love them and can't wait to see how they finish them!

Now for the project that I'm doing that requires the bottles- PENGUINS!
                              SNOWMEN! AND CATS! Oh my!
These projects are made with empty Danimals bottles that the students donate. A sample bottle is next to the project. THERE IS A LOT OF PREP WORK INVOLVED! Thankfully, I have a student volunteer to help me.
Prep work:  remove the label
                    hot glue down to cardboard (helps to balance and name is written on the bottom)
                    tape over the opening (to have a surface to put the Model Magic)
                    for Snowman-poke holes (I use the point of a compass) for pipe cleaner arms
Step by step for the snowman-


 Looking at the bottles, students have a choice. Make a 2 or 3 section snowman. The top or neck of the bottle can be the head or the hat of the snowman. I demonstrate how to do a little pinch pot and cover the neck of the bottle to make a head. OR a coil and cover the neck to make a hat. Students are encouraged to trade for additional colors to use for ear muffs or whatever.
And my favorite-

 
Then students use Sharpies to add details. And since I do the snowmen with k & 1st,  I supply them with something for the snowman to hold. I make the stuff from pipe cleaners and yarn or extra Model Magic, the spoons come from taste testing ice cream.
Third and fourth grade students get to make the penguins, cats or anything else they may choose. We talk about how to make the different shapes and how it should look good from all sides. Directions are similar to the snowman. Cover over the top with the Model Magic, then spread over the body and add the details. Can be painted over or colored with markers.

Who else has used Model Magic and what have your students made?

Some happy updates from previous posts-
Last week I took my 4th graders to see their exhibit at the Leepa-Rattner Museum of Art on the campus of St. Pete College in Tarpon Springs. It will be displayed until March 8th. INCREDIBLE!
Read here how I prepared them for the trip.
And apparently my blog about fairy doors (read here) has inspired a few fairies to move in!

They have come as a complete surprise when I find them and totally makes me feel SPECIAL!

There are many wonderful art teacher blogs out there, thank you for reading mine!