I returned from the NAEA conference in New York City a week ago. It has been a hectic, crazy week filled with watching my grandson after school to attending Evita at the community theater and a visit to the doctor for a nasty cough that I seem to have developed. In other words NO time for myself!!
The conference was amazing and I will get to many of the happy details in the near future. Suffice to say I connected with so many wonderful people that it made the whole experience worth it!
Today's post will be the backstory for one of the presentations I was involved with. The presenter, Karen Nobel is a past president of the FAEA. I am very fortunate to know Karen both from the Florida Art Educator's Association and the Faber-Castell Teacher Advisory Board. Karen sent out an email last fall to see if anyone on the advisory board would be willing to help her by doing a collaboration project with their students.
Faber-Castell would help out by giving us their products FREE of charge! Never one to say no to free stuff, I was on board! I decided to use paint and colored pencils. But, that was all they would supply, so the principal suggested I write out a grant for the rest of what I needed.
Karen did all the paperwork to submit the proposal, she just needed some photographs for her presentation. We decided I would do a mural. Since my home school was recently renovated, I didn't really see where a mural would fit in. HOWEVER, my Monday school is an F school and when I suggested a mural to the principal she was thrilled!
Their mascot is a fire hawk, so I knew that was what I wanted to do. I also knew I wanted to put feathers on it, made by the students
AND as I was thinking about that, I came across
Cassie Stephen's post on
Kelsey Montague's Inspired Mural. Check
here to read about it in her blog!
I planned to do this on 8' x 4' plywood, so I made a pattern out of bulletin board paper. Now it was interesting to me that the point of the presentation was in collaborating - because of a
definite lack of time in the art room..... because
now I had to wait on the grant, then
order stuff and also have students working on it to take photos for Karen........
When the plywood came, I traced the pattern onto it. (By the way, the plywood ended up being donated by parents at my other school, thank you
Barnett Family!)
Now it was ready to be painted by students. Since I'm there only the
one day a week the mural was in the art room with the full time art
teacher, Mrs. Murphy. She had it as one of her centers, for early
finishers to paint.
And while that was going on.....
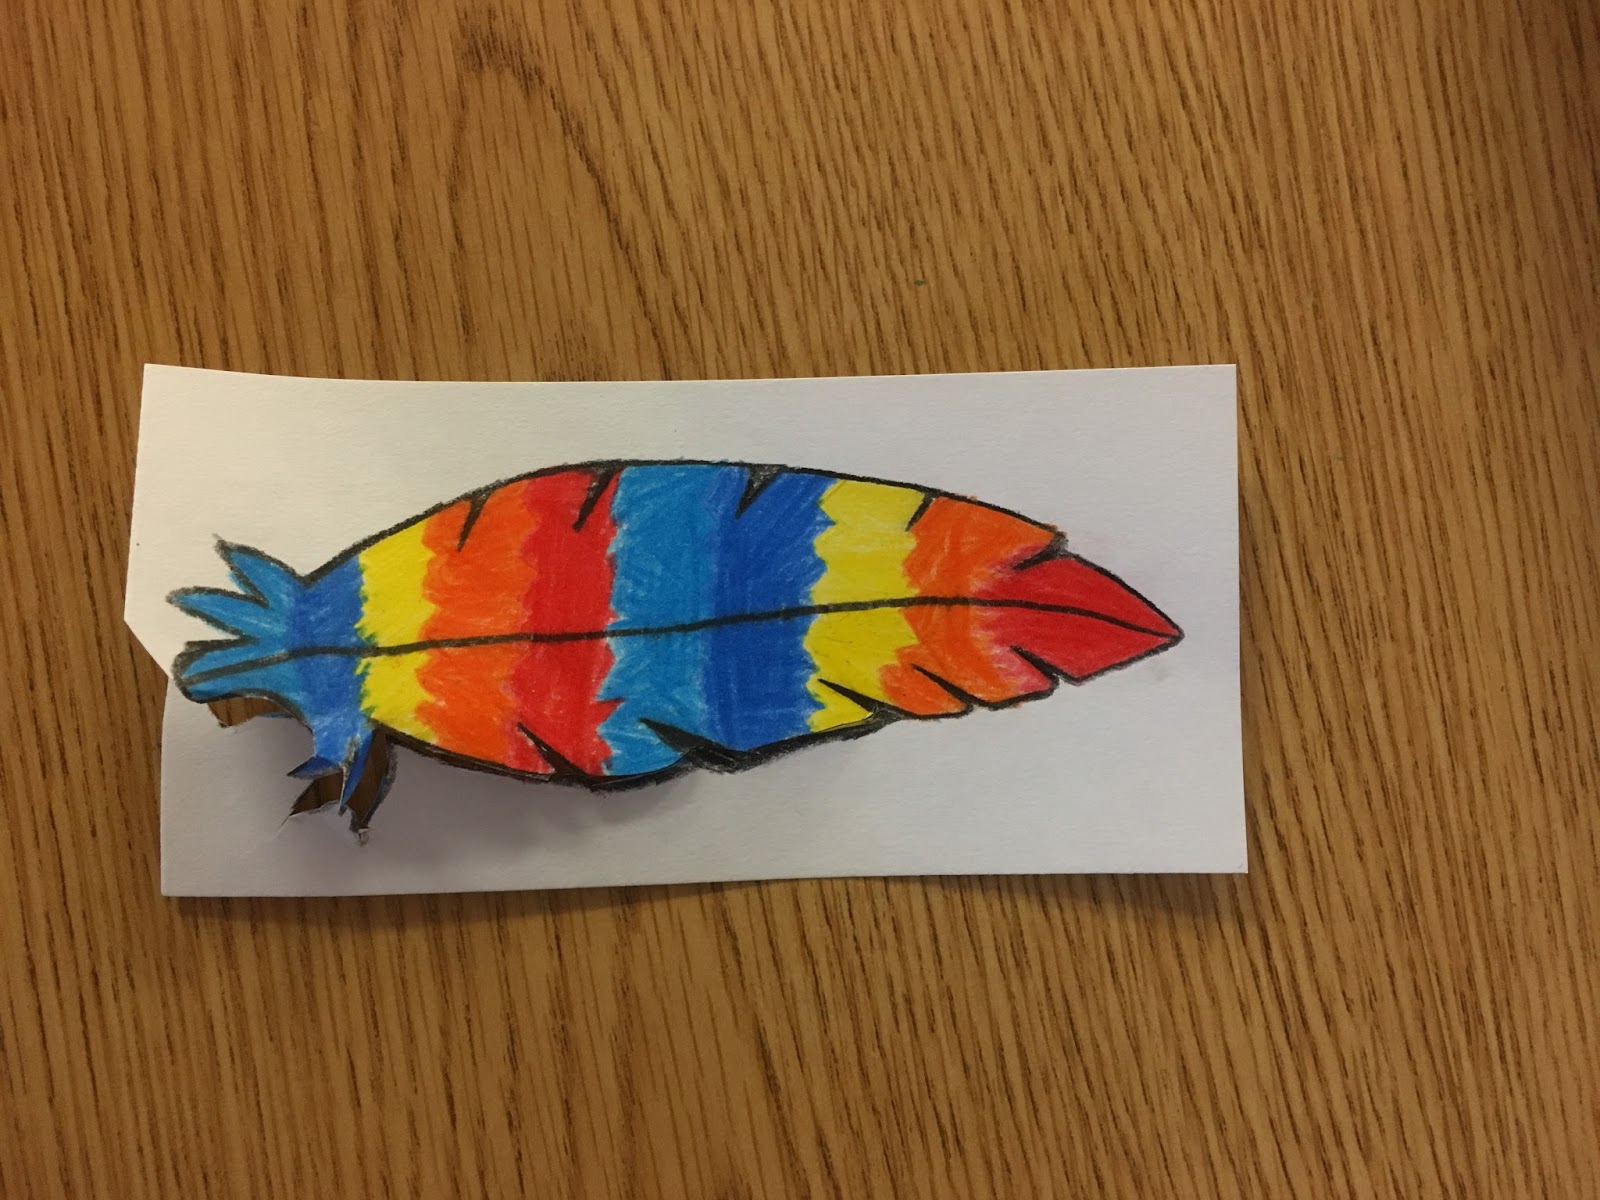
I had students working on feathers. I tried to stick with the school colors of blue and orange, but also wanted to put the red and yellow in it for the fire hawk. Feathers were done with colored pencils to minimize the mess and hopefully take only one class session to do.
I wanted to tie this project together with the goal of being successful this year to motivate the students in bringing up the school's grade. So I instructed students that after they cut out their feathers they should
write their goal for the school year on the back.
Anyway, here's what I have so far, I keep adding more feathers every Monday afternoon and hopefully they will all be glued on soon! (I used hot glue to attach the feathers to the plywood.) A wall in the Media Center has been chosen to receive it when it is finished and I can't wait to see it completed and hanging up!
Here I am at the presentation explaining my collaborative mural! It was a very well attended presentation and most of the other art teachers who provided photos for Karen were also available to say a few words about their projects. What I found really interesting is all the different ways in which people chose to collaborate.......
Thank you Karen Nobel for the chance to share!
Thank you Faber-Castell for supplying the materials!
What type of collaborative projects have you done with your students??
Thanks for Reading!!!