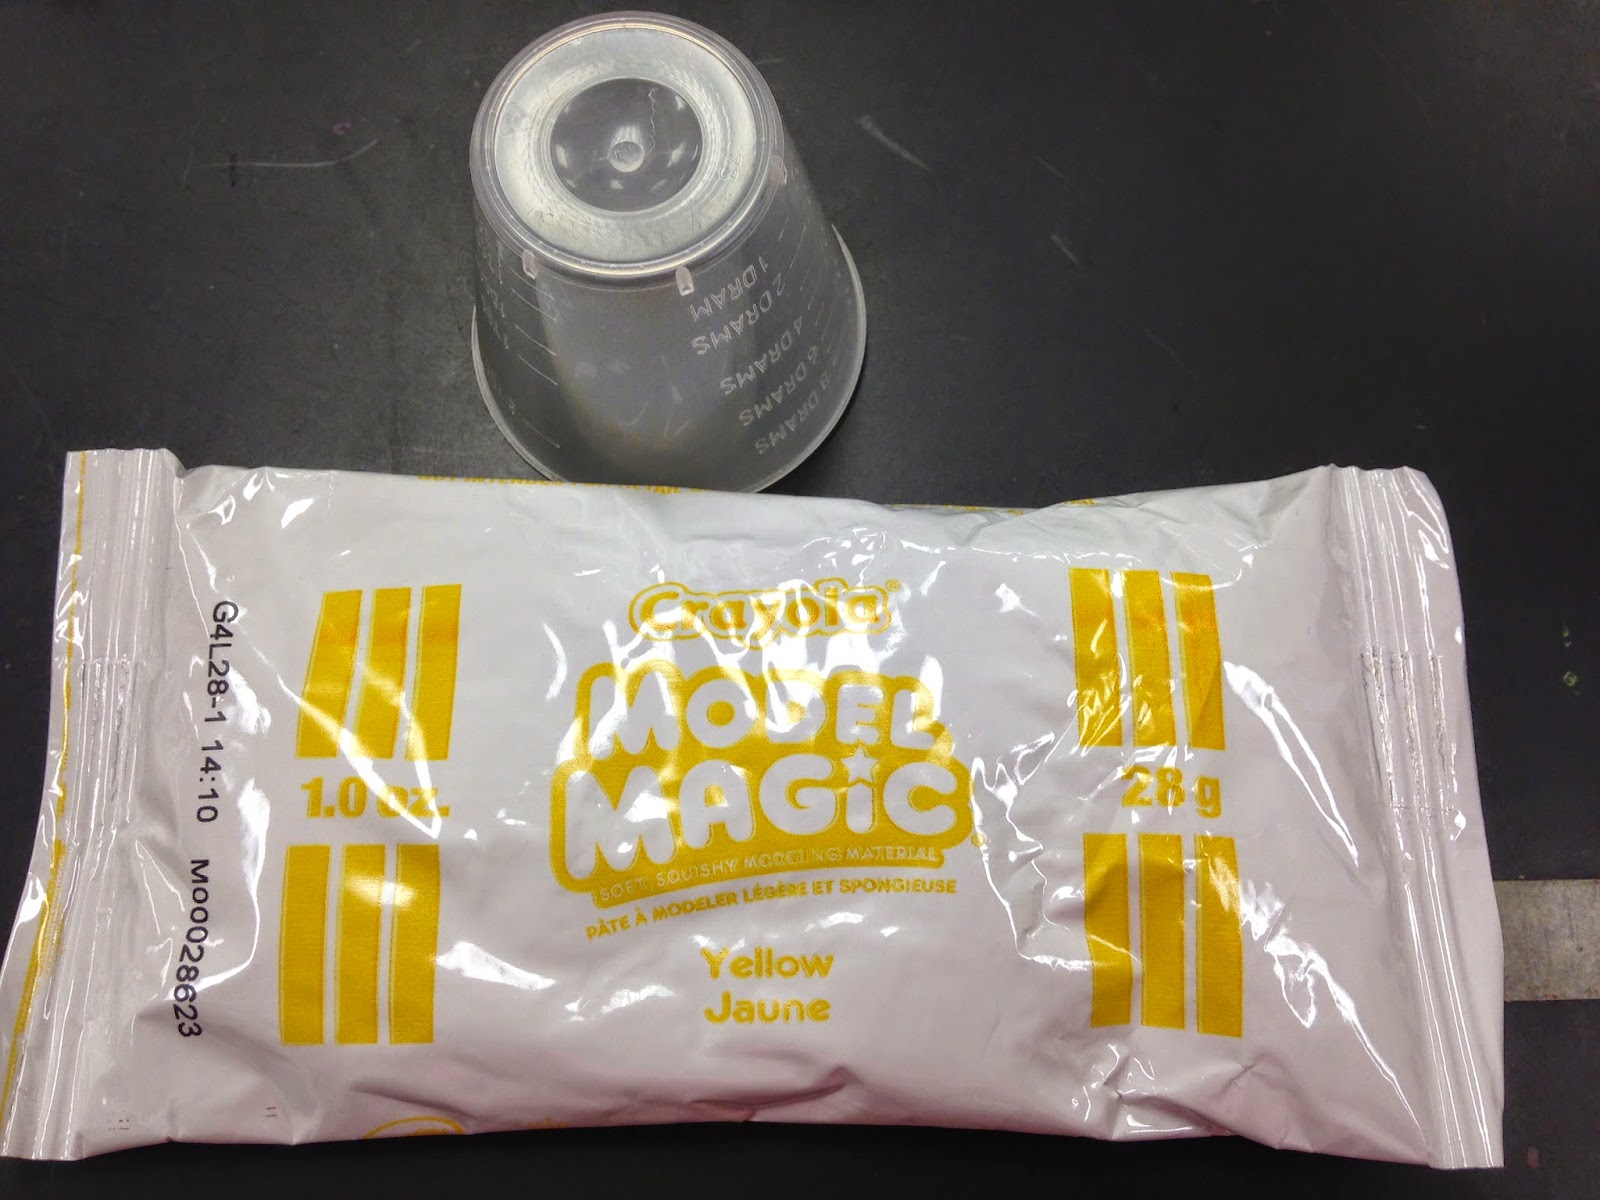
Lucky for me, a while back I made a list of suggestions of what to make with Model Magic and on that list was puppets. That would be cute! As I started to demonstrate building the Model Magic around my finger, I began to realize that when I took it off my finger, it would collapse. Not good..... Then I remembered that I had those little medicine cups that someone donated! Oh YEAH!
I chose to have the students work with Model Magic instead of clay this year, because the kiln is in the middle school art room on the other side of the building. It was just crazy last year to go back and forth to load and unload. Next year when we are back in our own building, with my NEW kiln, it will be easier.
I purchased class boxes that included the following colors: red, yellow, blue and white. For some reason I always have lots of yellow left over-so that's what we used.
cat caterpillar
elephant bird
high 5
I love them and can't wait to see how they finish them!
Now for the project that I'm doing that requires the bottles- PENGUINS!
SNOWMEN! AND CATS! Oh my!
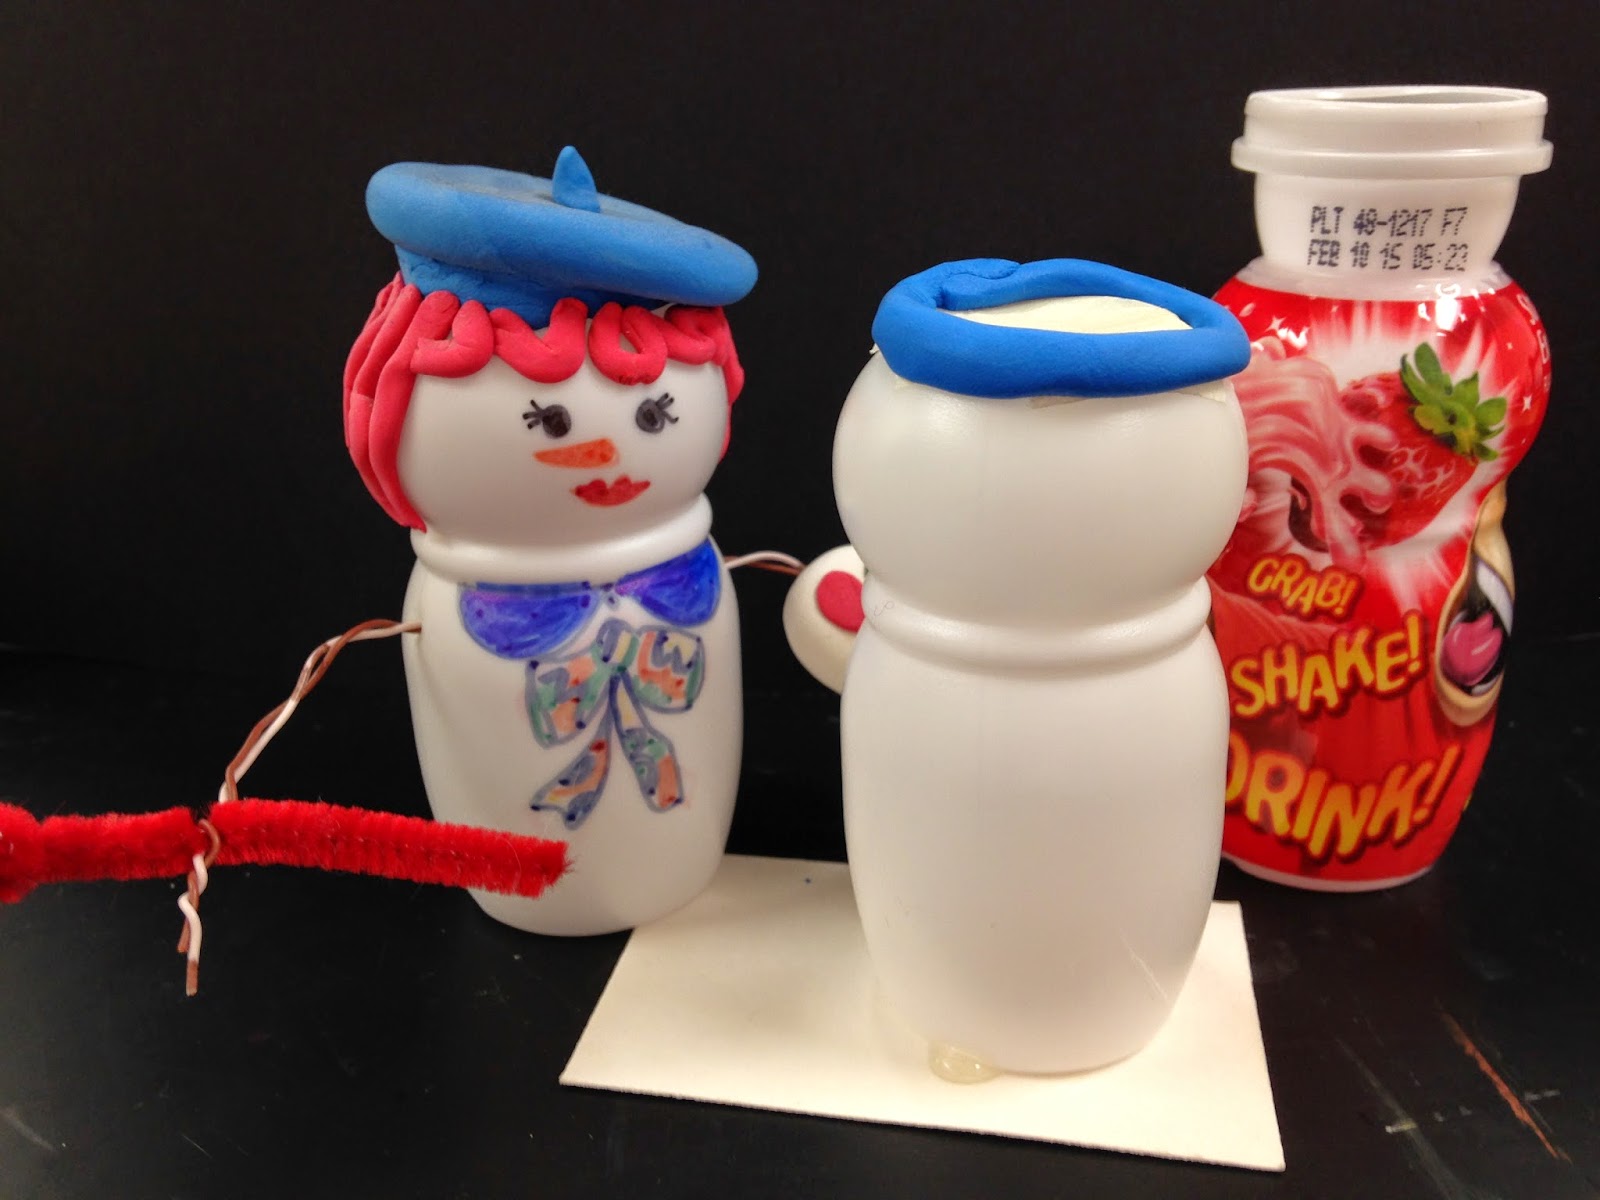
These projects are made with empty Danimals bottles that the students donate. A sample bottle is next to the project. THERE IS A LOT OF PREP WORK INVOLVED! Thankfully, I have a student volunteer to help me.Prep work: remove the label
hot glue down to cardboard (helps to balance and name is written on the bottom)
tape over the opening (to have a surface to put the Model Magic)
for Snowman-poke holes (I use the point of a compass) for pipe cleaner arms
Step by step for the snowman-
Looking at the bottles, students have a choice. Make a 2 or 3 section snowman. The top or neck of the bottle can be the head or the hat of the snowman. I demonstrate how to do a little pinch pot and cover the neck of the bottle to make a head. OR a coil and cover the neck to make a hat. Students are encouraged to trade for additional colors to use for ear muffs or whatever.
And my favorite-
Then students use Sharpies to add details. And since I do the snowmen with k & 1st, I supply them with something for the snowman to hold. I make the stuff from pipe cleaners and yarn or extra Model Magic, the spoons come from taste testing ice cream.
Who else has used Model Magic and what have your students made?
Some happy updates from previous posts-
Last week I took my 4th graders to see their exhibit at the Leepa-Rattner Museum of Art on the campus of St. Pete College in Tarpon Springs. It will be displayed until March 8th. INCREDIBLE!
Read here how I prepared them for the trip.
And apparently my blog about fairy doors (read here) has inspired a few fairies to move in!
They have come as a complete surprise when I find them and totally makes me feel SPECIAL!
There are many wonderful art teacher blogs out there, thank you for reading mine!


No comments:
Post a Comment