
I found bunch of these containers under the sink. They were in my "new to me" art room when I started at my current school.


OMG! This would make a perfect puppet face! So I played some more.

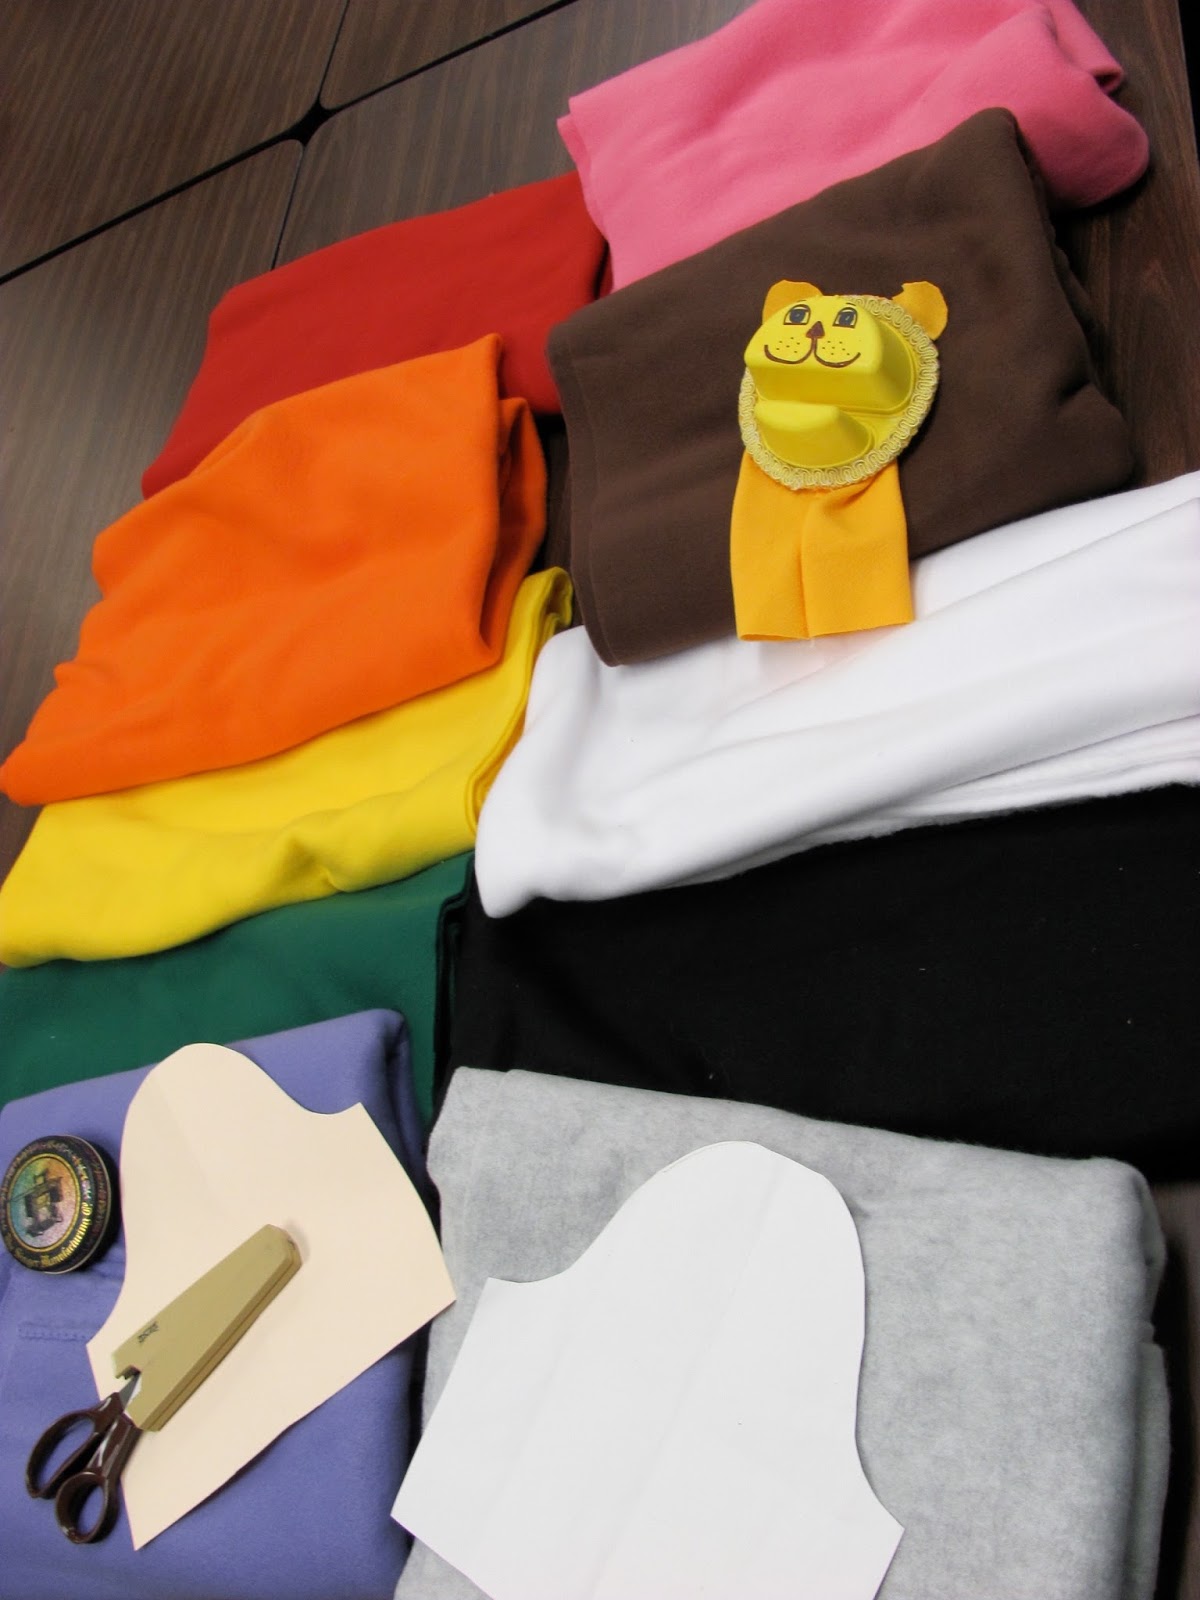
I painted it with acrylic paint. Did some details with Sharpies after the paint dried. I knew that I wanted to add a cloth body and the only way that was going to happen was if I glued something around the face that I could sew a body onto.


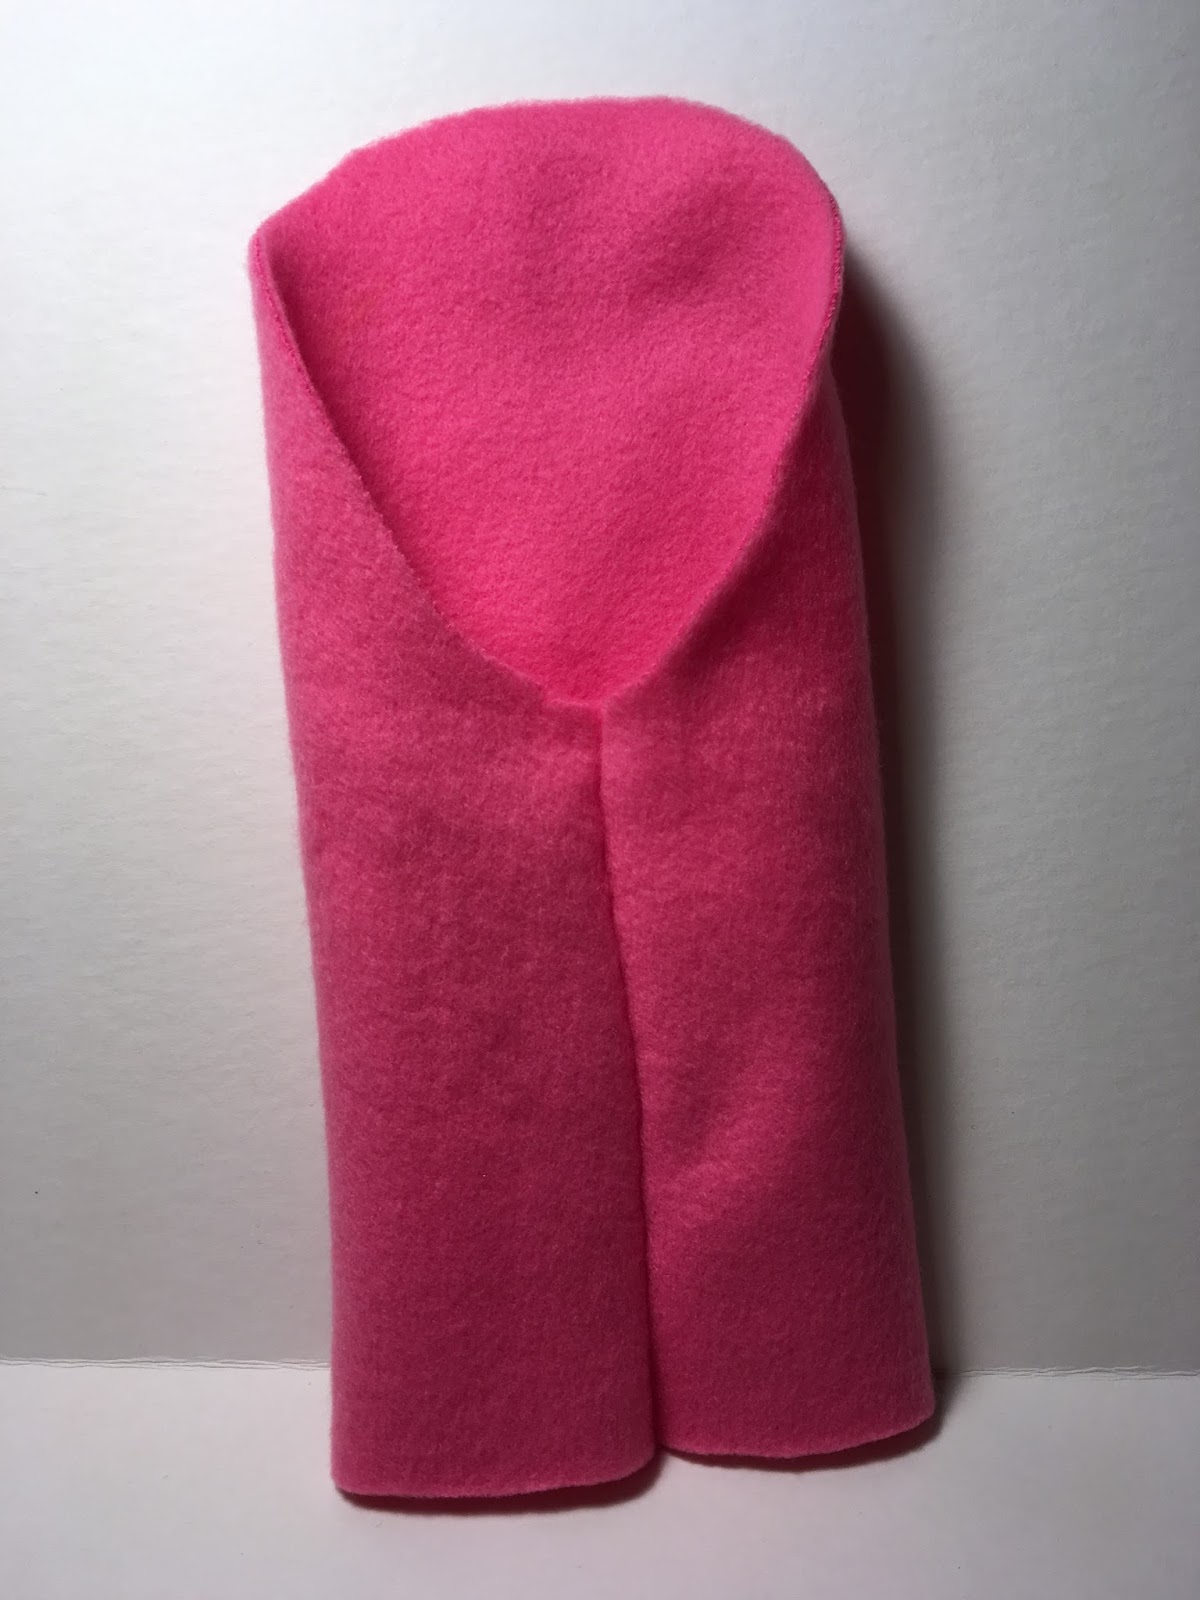
Now for the body. I made the pattern for the body. I traced the shape of the container onto paper that was folded with the opening edges down the middle. See the photo below on the right. I'm seriously hoping a picture is worth a million words because I did this a number of years ago so the photo is just to show you how the pattern should fit the container. (If you plan to do this and need more of a step by step, let me know.)

The 2 short sides get sewn together (by students) and then turned right side out.
When I had decided to do this with my students I got a grant from PTA for the fabric. Since I really didn't want any waste and didn't want to take the time for the students to cut the fabric, I did it. I knew my art room scissors were not up for the challenge. Below is how I did it fast and efficiently! Cutting several out at a time.

Next is attaching the body to the face. Might be a good idea to teach students how to thread the needle so that you are not doing it over and over and over again..........


Now for the knot. I take the tail of the thread and wrap it a few times around the point of the needle.


I pinned the body to the face and just did a basic up and down stitch. Make sure students understand where they are attaching everything so that they don't sew all the way through and can't get their hand in the puppet.


Before I cut the plastic holding the bottom of the trim together.


Puppets made by my students.


I found these containers in the supermarket last week that can be used along with Cottage Doubles by Breakstone.

I'm curious, what's your favorite recycle/upcycle project? OR do you have a million of something in your room that you don't know what do do with??? Send me a photo or send me a few and I'll play with it and come up with some ideas!!
Thanks for reading!
This is brilliant! I love the idea! Pinning!
ReplyDelete