Yes, even though I have an art room, which is actually a middle school science room, occasionally I end up pushing a cart.
Why? Because my art room is needed during testing for students who require extra time.
My knees are not happy with this situation, but, I firmly believe that I get good guy points for not complaining.
So,
last Monday was one of those days.
First, I needed to empty this cart that I store things on.... and start loading it up with what I would need.
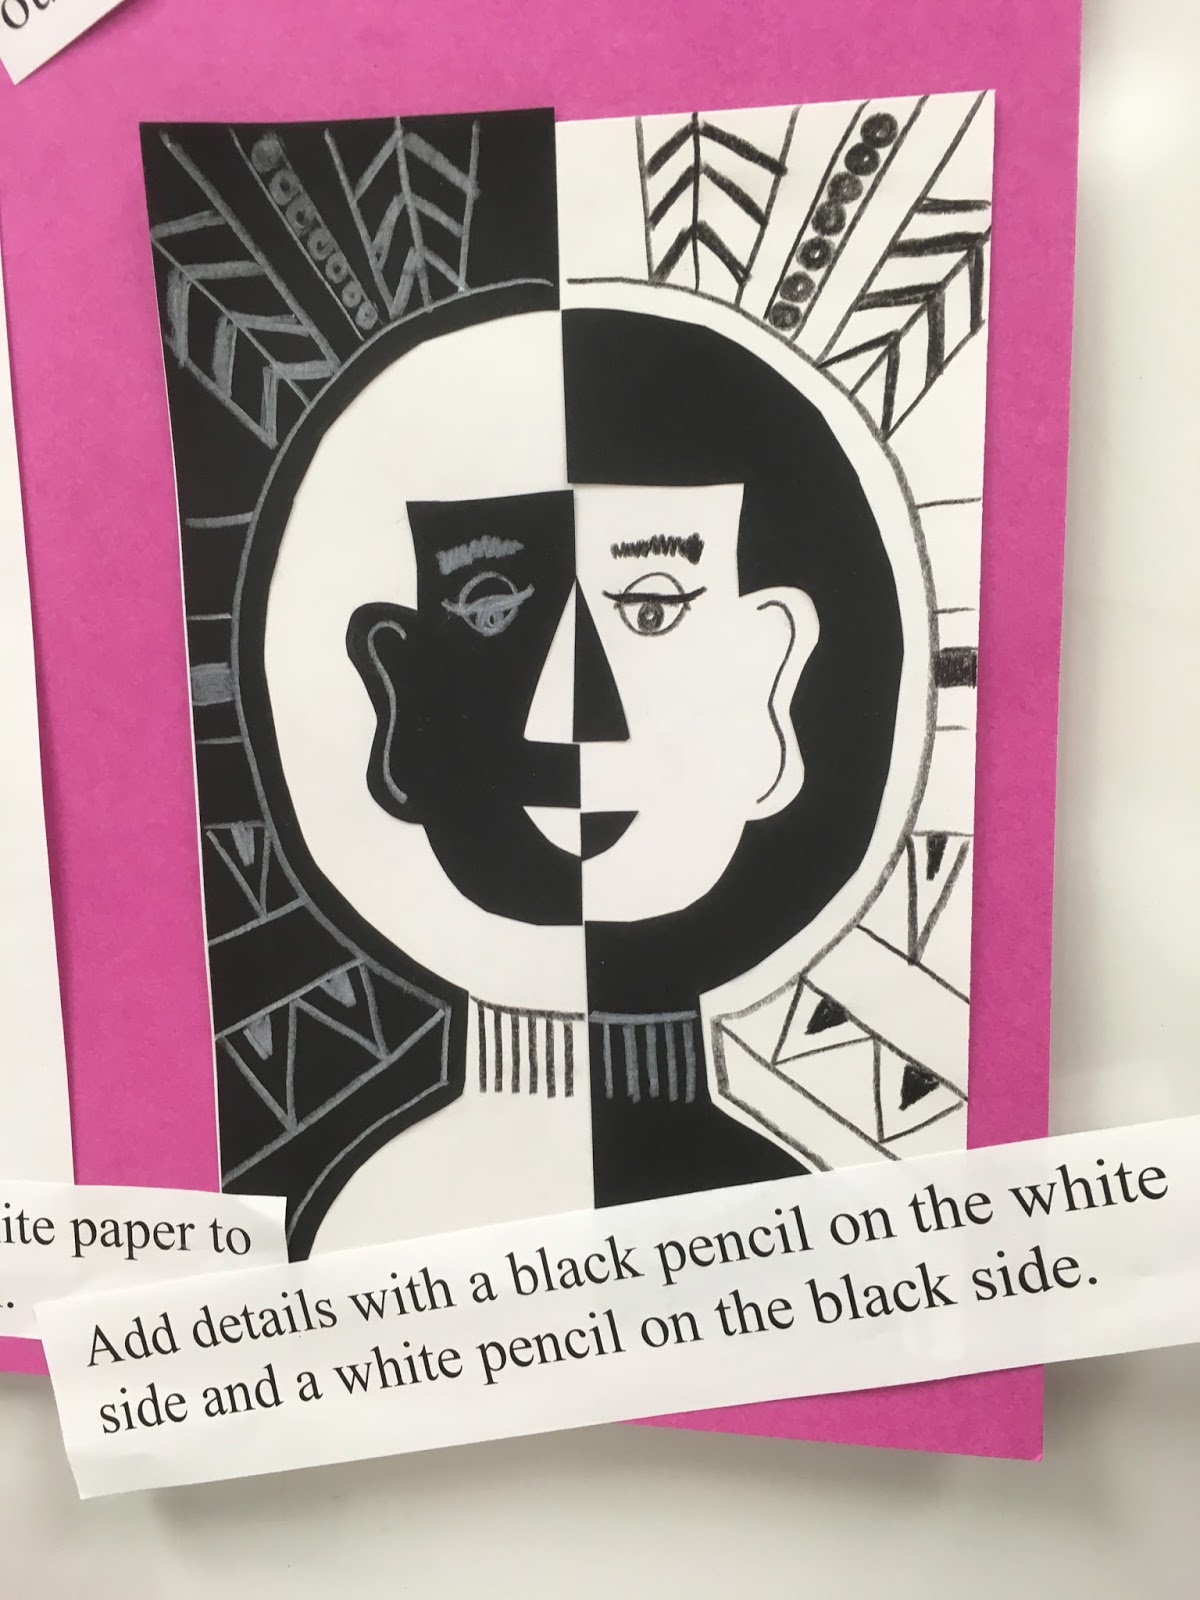
We all know that art on a cart limits what we do. I needed a project that would cover 4 grade levels: k, 1st, 2nd and 3rd. I chose to cover positive and negative space.
My samples.......
Now, since I was on a cart, students would not be given a choice of colors. They would get a 9" x 12" white piece of drawing paper and a 6" x 9" or a 12' x 4 1/2" piece of black construction paper.
Bonus-we got to cover contrast!
Then, in my head, I went through the steps of the project and started to put things I would need on the cart. Samples √, black and white paper √, black and white colored pencils √, scissors √, glue √, book:
Art Is √, large clipboard to demonstrate on √ , signage as to what students will
know, understand and do √-and
now I was ready.
I headed out a little early in the hopes of being able to finish and leave a little earlier to get to the next class. We don't have travel time built in the schedule
-because-it's only a few days a year.
The photo at the top is me presenting the lesson. I pointed to and read the sign I attached to the side of the cart. Then I read them the book
Art Is...
This is a wonderful book with awesome photos for each of the elements and principles of art.
I demonstrated by cutting a shape out on one edge of the black paper. Then showed students how to flip that shape to show the positive and negative space. With my 2nd graders I did a second cut and flip, but, I knew if it got too complicated, we would run out of time and students would not have everything glued down. So instead we used black and white colored pencils to create details and continue the illusion.
I had 2nd and 3rd graders make faces.
1st graders did animals and kindergarten did hearts.
Art teachers face many challenges when they teach art on a cart. My philosophy when I have faced that situation is to do the very best I can within the limitations given to me. Hopefully, "the powers that be", will one day recognize the importance of the arts.
If you teach art on the cart what are some of the lessons you feel work in that situation?
Thanks for reading!
Nancy Walkup posted on my facebook timeline the following information:
Coming to NAEA New Orleans? Don't miss our carousel on art teacher blogs on Friday, 3/27/2015, 11:00 AM - 11:50 AM Convention Center/Meeting Room 216/Second Le
vel
Elementary Carousel of Learning: Teacher Art Blogs
Talented elementary art educators from across the country will share
their successful art blogs for their art rooms. Come learn how they
bring positive attention and acclaim to their art programs and schools
through their blogs. Learn what having an art blog will do for your art
program and hear suggestions on how to get started.
Cassie Stephens, Phyllis Levine Brown, Sheryl Depp, Jen Dahl, Laura Dean
I'm really excited to be joining these wonderful bloggers! Hope to meet you there!