Pages

Sunday, December 14, 2014

Practically Free Sketchbooks

To be able to give my 4th and 5th grade students sketchbooks, is expensive and not very practical, on my budget. So, last year I wrote a grant and for the first time was able to give out sketchbooks. I bought them from Sketch for Schools. They are always giving out freebies at conventions and are very reasonably priced.  My students were thrilled, especially when told they could take them home at the end of the school year. They did all sorts of planning and experimenting in their books.

Wasn't sure that I would get another grant to do this........ HOWEVER, my son has a close friend who is the vice president of a printing firm. AND he had all this paper that he couldn't use, I'm talking 10,000 sheets that filled 5 boxes! Along with covers and backs enough for 200 books! BUT the company is in Nashville, Tennessee and I live in Spring Hill, Florida! However, it was my son's turn to have his parents visit for Thanksgiving............

So, across the back seat of the car is 5 boxes of paper, enough for 200 sketchbooks. Along with the paper is a ton of baby stuff, for my daughter, who is expecting in April. The trunk had our luggage and bags of baby clothes. It's amazing what a determined art teacher can fit into a small SUV.

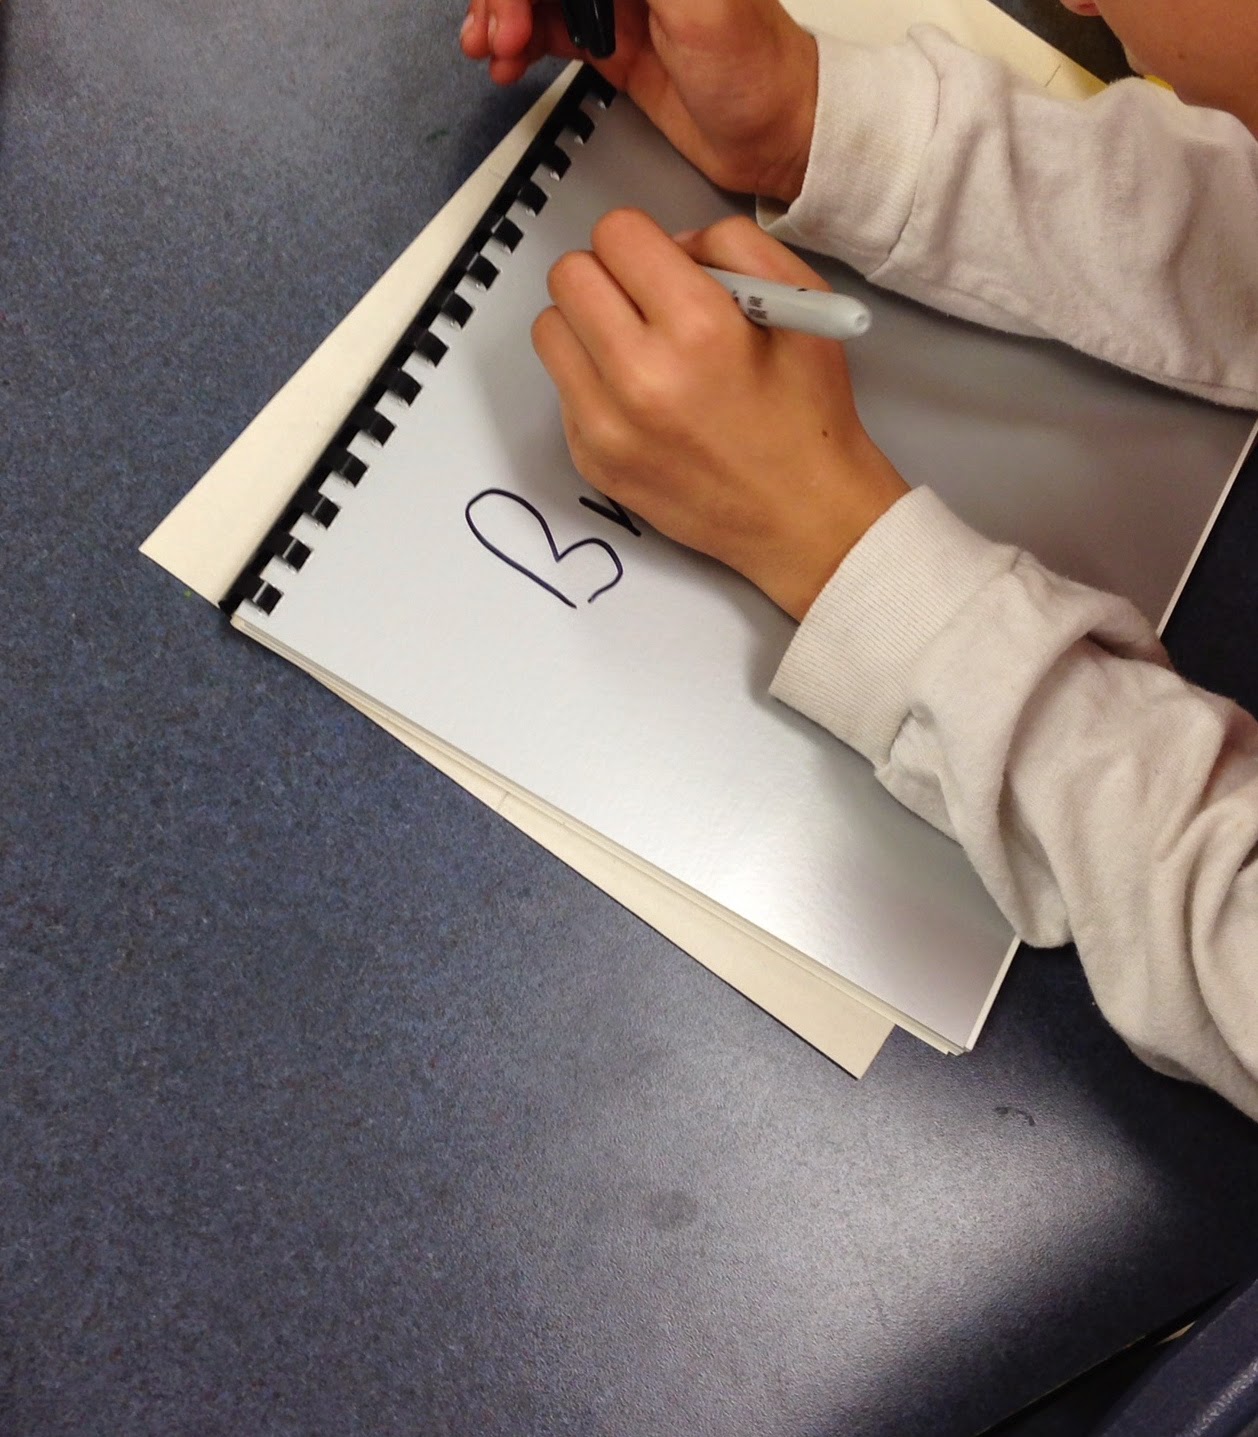
I researched how all this paper would magically turn into sketchbooks and found out we have a production lab, at district, that would do it for free. On the Monday after break, I drove it down to district. All I needed to pay for were the plastic coils to bind the books. A whopping $13.
The books were done in less then a week and since I still had classes who had not yet printed their logos....
Amazing, right?  I fixed up the boxes to store each class separately and added the classroom teacher's name. I can't wait to see what fun my students will have with them.
I was so fortunate to have all the connections to do this for my students! I can't begin to tell you how wonderful it was to get such a generous donation of paper from my son's friend. (BTW I may even be able to hook some of you up with scraps from time to time, in you live in the Nashville area. Let me know if you are interested and I will pass along the information.)
So my practically free sketchbooks cost me a little time and trouble, but was SO, worth it to see how excited my students were. Am I the only one who does this stuff for their students? Let me hear from you, what really nice, crazy things you do.
Thanks for reading!

For a free list of art center suggestions go my store at Teachers pay Teachers .


Thursday, December 11, 2014

Fairy Doors: Street Art My Way

Art teachers take inspiration from just about anywhere! And I was VERY inspired after watching this video Family Street Art. The family had seen a Banksy video and the 10 year old daughter insisted that she wanted to become a street artist. Well, not wanting to discourage her they decided to create art that they could leave all over their community.  Not ONCE but THREE times. I thought this was awesome. I want to do SOMETHING like this................... but what???????

Well, while recently looking through a catalog I came across these fairy doors-
AND I KNEW!!! I would have my students make Fairy Doors and we would display them through out the school!
I started off the class by talking a little about street art and how it's different from graffiti. And that it's illegal to deface other people's property. Then I showed them the video about how this family created movable street art. I explained that we would be creating art that we could display all over our school community. I then googled fairy doors and showed them a variety of images.

I made 3 different shaped tracers and inspiration sheets. Inspiration sheets are for my students to look at and be inspired. They can switch out what they see, use the best of what they see or just create from their own imagination.

  
They used colored pencils, markers and ultra fine sharpies. Doors were done on 4" squares of different colored paper. We also went over the function of a door and what it needed to have on it.  And they created beautiful Fairy Doors!!


 I laminated them.  And then I went around the school with students to hang them up.


I made these with 3rd graders and sent out an email to alert staff. Had a lot of questions as to what it was all about. Didn't really think that out...... But, it's really simple. Did it make you smile? Did it inspire you? Did it start a conversation?

Students want to know about the doors. Do they open?  How did they get there? One teacher is telling her students to check with me, because, I am the fairy coordinator! I LOVE IT!! Next week when students come to art they will be drawing the fairies that live behind those doors! Oh yeah!!

I hope that this inspires those of you that are reading this. My students really got excited about doing this project and I have a feeling it will extend beyond my 3rd graders!! ENJOY!!

Thanks for reading!
Link to my store to a free list of suggested art centers TpT Primarily Art with Mrs Depp.


Sunday, December 7, 2014

Scratch a Print?

 I bought this stuff, at least, 5 years ago with money from our School Advisory Committee.
It wasn't really cheap, so I kept thinking that I needed to come up with a fabulous lesson using this. After playing with it from time to time to figure out what to do with it, I kind of gave up on it.

Well, the elementary school I work in is being renovated. We pretty much found this out with less then 4 months of school left. That was in February, 2013. Had I gotten more notice I would have had a whole lot less to pack. Translation-I WOULD HAVE MADE EVERY EFFORT TO USE STUFF UP! So that I would have less to move. Okay, maybe not............
Anyway, the school will be ready for the next school year and I have REALLY made every effort to use things up (and give things away). She tried to say convincingly.......
Henceforth, I REALLY needed to use this stuff and NOT move IT back.

Needing a print project for 4th and 5th graders and a lesson I wanted to use involving logos, I thought let's use this scratch a print thingie! Students were shown a power point which focused on what a graphic artist does and the importance of using a logo to brand a product. They were given newsprint paper with directions to fold paper into four sections and come up with four different logos. Logos must contain letters and an image. You may brand yourself or a company you would like to have when you grow up. 

The frame was taped to their chosen design, they proceeded to scratch and voilá!

I set up printing stations with acrylic paint. Didn't have enough stations, so set up more with tempera paint. We found out the acrylic works better. And the results!

   
Interestingly, while in the middle of this project, we had The Great American Teach In. I asked if I could host someone. I was given a choice of a person making pizza, chocolate or soap. Surprisingly, to those who know me, I chose the soap maker (sigh). And WHAT an appropriate choice that turned out to be!
This company was started by an eleven year old girl who designed her own logo! Each bar of soap is like a work of art! You can check them out here: Flutter Fin Soaps. That's her mom who was there to help her out!  
Anyway, since I have yet to figure out how to add a gadget to my blog (I'm working on it) here's the link to my store at  Teachers Pay Teachers. Currently featuring a free list of suggested art centers.
Thanks for reading!


Wednesday, December 3, 2014

Printing with Gelli Plates

 On a recent trip to Plaza Art Materials, actually on my first trip EVER to this awesome place, which is located in Nashville, Tennessee they had a Make it and Take it event. In other words an assortment of people letting you try their product in the hopes that you will fall in love!! Well, IT WORKED!!
There was a woman demonstrating Gelli Plates. And, did I mention everything that day was 40% off!  I don't know how it works in other states, but Florida gives their teachers lead money AND I just figured out how I was gonna spend mine!

I really couldn't wait to try it with my students. Thought I would try this with my 3rd graders. I see them at the end of the day and would have plenty of time to clean up. Really a good thing!

Had it all figured out. Here's what I did. I showed them my sample, which is at the top of this blog. Explained that I wanted them to know all the different ways artists make prints. I wanted them to understand the purpose for printing. And to have the opportunity to do a mono-print.

Then I demonstrated on my Elmo. I used a spoon to apply acrylic paint to the plate, rolled it with a brayer.
 Put down a paper leaf, used a stamp for a little texture. Then I pulled the print,
My goal was to keep it simple, as it was something new for all of us. I purchased 12 plates, because I don't believe I have more then 24 students in any class. My thinking was a 2 to 1 ratio.

I put 2 trays down on each table. Each tray contained 1 Gelli plate, 2 small cups of paint (colors that work together), a spoon, a texture stamp, a foam stamp, that ribbon that has holes and a brayer.
 BUT before putting the trays out, students were given two pieces of paper with instructions to write their names on the paper as the pencils were going away.  
                                    NO SHARP OBJECTS NEAR MY PLATES!
 Also, directions were given for cleaning the plates after printing, by using newsprint to pull off any paint still on the plate.

My students in action!

And some of the finished results!

They had a blast doing this! AND everyone was happy with the results! If anyone reading this, has used other materials successfully with their Gelli Plates, please share!
                                  I will need to step it up next time!
                                                                   Thanks for reading!